*There is an affiliate link in this post.
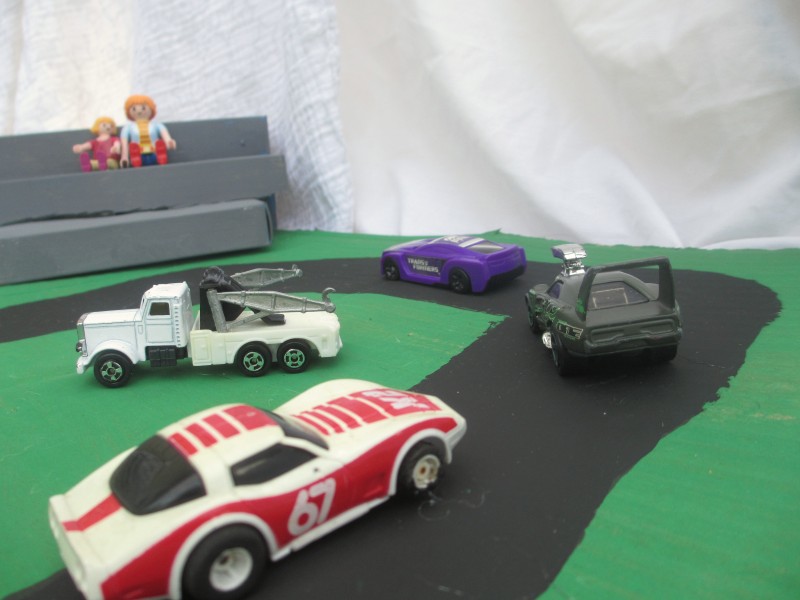
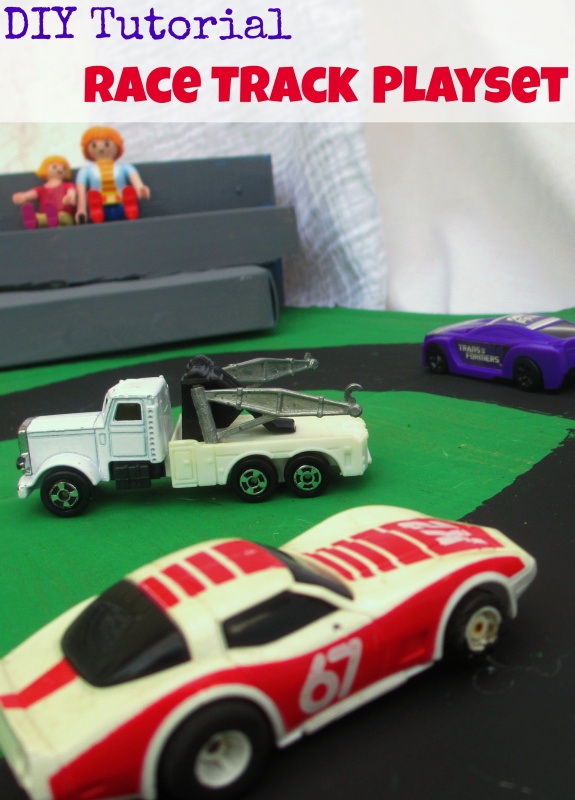
My 3.5 year old nephew loves race cars. He gets to go to the local race track to watch the races. He loves matchbox cars and is always racing them or using his tow-truck to take his cars into the pits to get fixed. We have a town map for matchbox cars that he always tries to race on, but the roads on it are pretty short and curvy so it’s hard to pretend-race on. I thought that a similar mat but with a regular race track shape would be perfect for him but they are hard to find and quite pricey. Today it occurred to me that I could just make a really simple one for him. I took pictures along the way so that you could copy my steps and make your own.
For this project you’ll need cardboard, small boxes, newspaper (or other large paper), paint and duct tape. I used cardboard from a box that I got a package in, used snack boxes (which would have been tossed otherwise), $2 duct tape from Dollar General and 4 colors of tempera paint (black, white, brown and green). I got my tiny bottles of tempera paint for $1.99 each ($6 total). If you’d rather buy online, You can buy a set of 12 small jars for ten dollars on Amazon.
For your main piece of cardboard, you’ll need to make sure that it’s the size you want for the race track. Paint the entire thing green and let it dry.
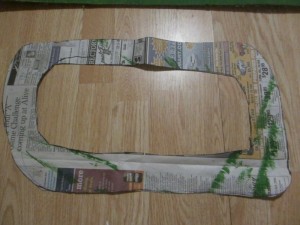
Lay newspaper over the dried cardboard and draw the shape of the race track as many times as needed until you get the perfect shape. I got out two matchbox cars to make sure that the track was wide enough for two cars. You’ll want the track to take up almost the entire width of the cardboard but leave about 1/4 of the height for the stands and the pits.
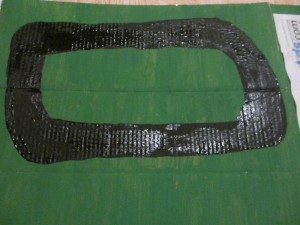
Lay the newspaper cut out onto the coardboard and position it very close to the top. Trace with a sharpie or other marker. Remove the cut out and use black paint to fill in the shape of the track.
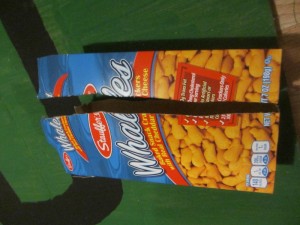
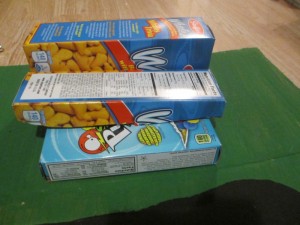
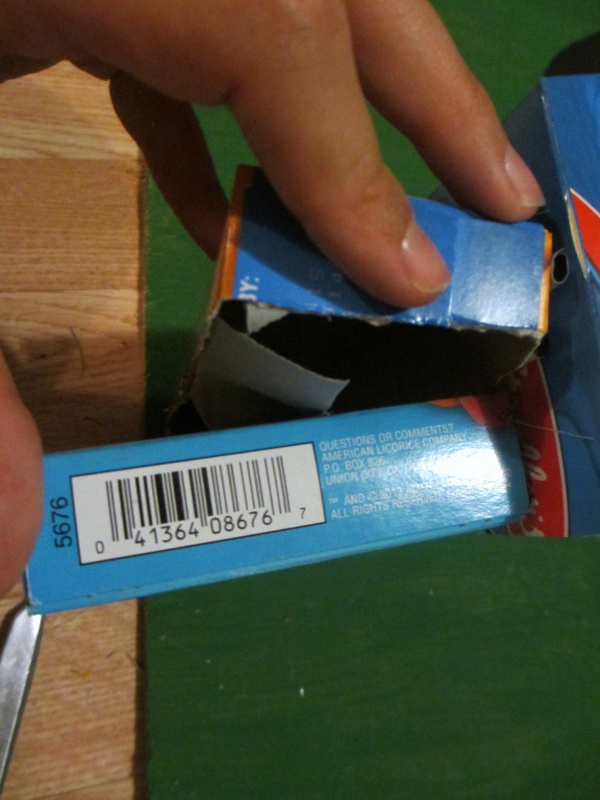
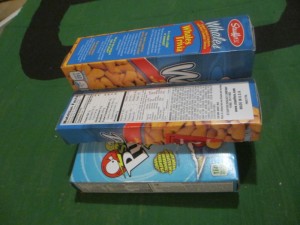
To make the stands, you’ll probably want at least three small boxes. I used a “whales” box (offbrand Goldfish) and a candy box. Your goal is to create three layers of “steps” to use as bleachers. I cut the whales box about 1/3 of the way in. The 2/3rds portion created the highest level of the bleachers. With the 1/3 box, I cut it in half again so it was only 1/4-1/2 of an inch tall. I laid the candy box down on the cardboard, and put the small portion of the Whales box on top of the candy to create the second ‘step’.
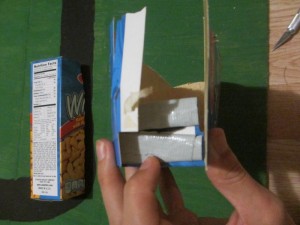
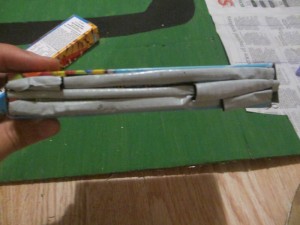
For the ends of the bleachers that were the flaps (open end of the boxes) I rolled duct tape to create a double sided tape and stuck it on the inner-most flap, to hold the outer flap in place. We will be painting the bleachers so be sure to avoid having your duct tape on the outside (it won’t cover very easily with paint). I used the same rolled-duct tape method to secure the boxes to each other to form the benches.
For me, my second layer-box did not have a bottom surface where it connected to the third row. Thankfully, my third row was a little bit shorter than the higher bench. I was able to secure duct tape to the side of the second row, and then fold it at a 90 degree angle to stick it against the top of the third row. A photo of this is below:
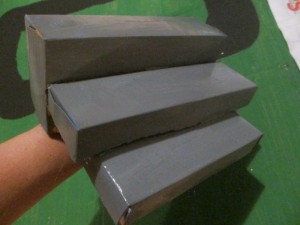
Once your bleachers are assembled, mix black & white paint to create a gray and then paint all sides of the bleachers gray.
If you want to leave the bleachers stuck to the track, you can use the duct tape method mentioned above, hot glue, etc. I chose to leave ours free-standing so that we can easily put the track behind the couch or behind a door for storage without the stands sticking out.
Using your brown paint, paint a square or rectangle below the track, next to the stands. This will create the ‘pit’ area where cars can be taken to be repaired or to wait between races.
That’s it! Fun toys to have for this style of play are matchbox cars that resemble race cars, a tow truck, small people (we use Playmobil people), small race flags or a barbie trophy.
Hi there! I am Emily Evert, the owner of Emily Reviews. I am 28 and live in a small town in Michigan with my boyfriend Ryan and our two pugs. I have a large family and I adore my nieces and nephews. I love reading memoirs, and learning about child development and psychology. I love watching The Game of Thrones, Teen Mom, Sister Wives and Veep. I like listening to Jason Isbell, John Prine, and other alt-country or Americana music. I created Emily Reviews as a creative outlet to share my life and the products that I love with others.
This post currently has 2 responses.
-
Well thats a very creative idea !




This is too cute. By the pictures I never would’ve guessed that everything was made from something in the pantry.