Ever since I was a young kid I loved to make things. I loved making everything from crafts, valentines for the other kids at school even clothes. When I was in middle school I’d say I crafted the most with my clothes as we didn’t have much money to really have unique things. So I made my own unique style instead!
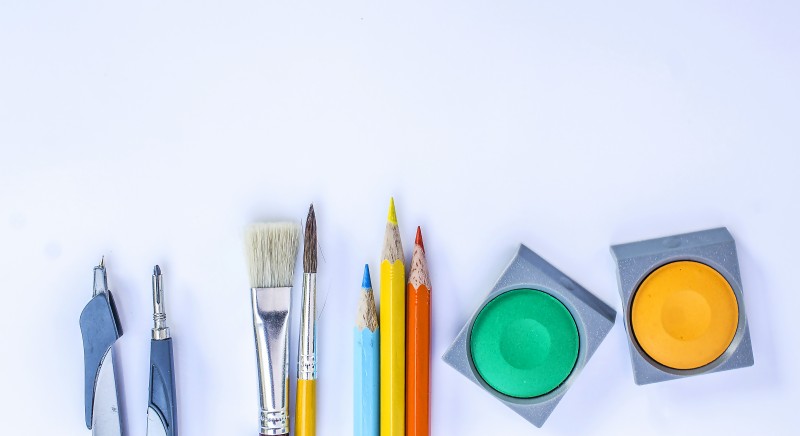
Now that I am older I still love to make things because one, it’s cheaper than ordering custom and two, I have virtually no limits to what I can make! I’ve always made my kids birthday shirts, onesies and party decorations as well. I dabble in sewing in the very minimum amount, that is, enough to make clothing items smaller or bigger and that’s about it. I now alter clothing as an adult because I can’t find what I want at any stores, style or print wise and because things don’t always fit my body type well unless I’ve altered it.
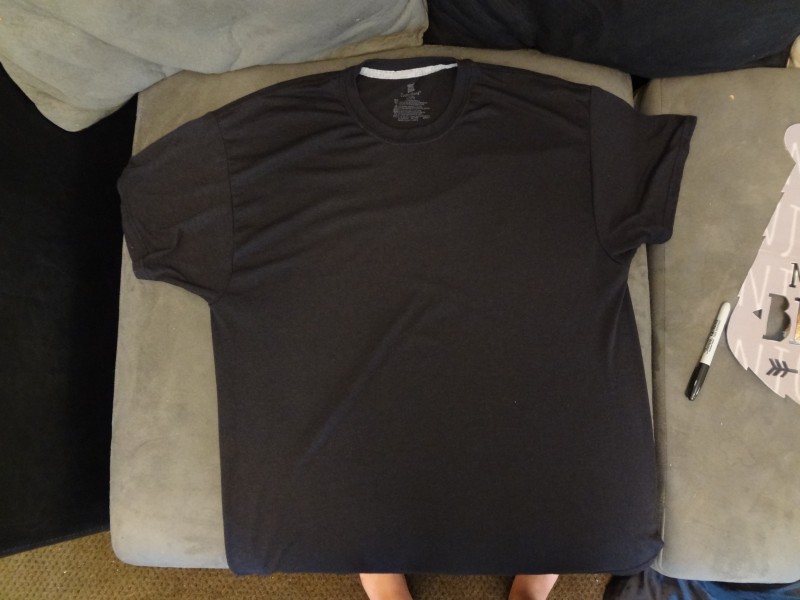
So on this venture I decided to make a DIY Bleach shirt. I was given the idea when at my local dollar general I noticed there was some really soft XL shirts on clearance. I went ahead and purchased for around $3 for two shirts. I knew that I could make the shirts slim fit no problem but they were just plain black shirts. While having some fabric markers and fabric paints I knew neither would show up on black so I decided to try a bleach shirt!
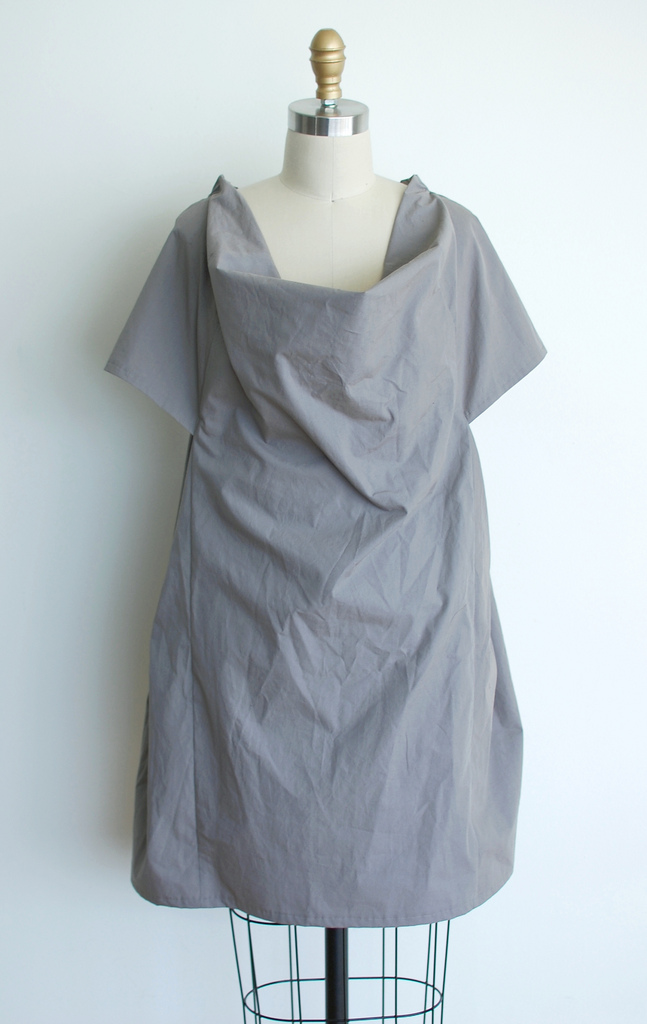
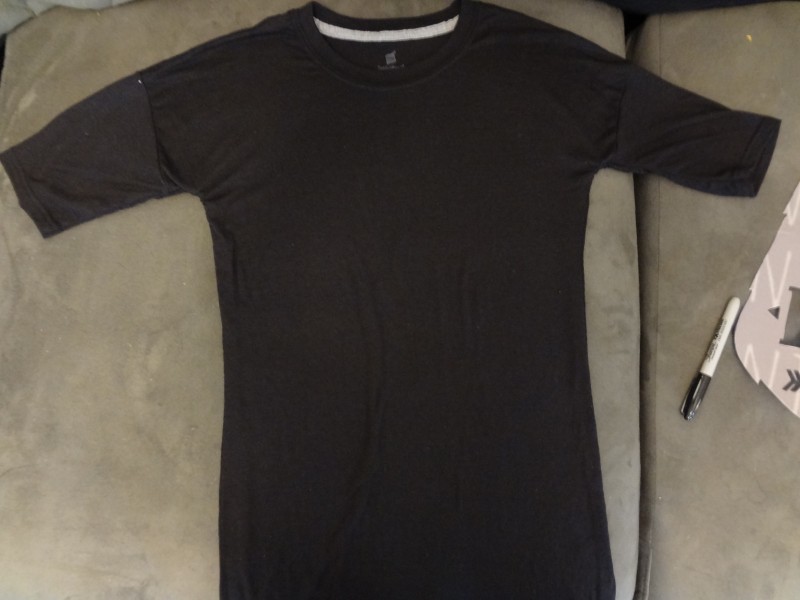
I started with the shirt as it was, much too big and baggy for me.
Next I turned the two shirts inside out and laid the shirt I had already altered on top to outline the shape that I wanted the new shirt to be.
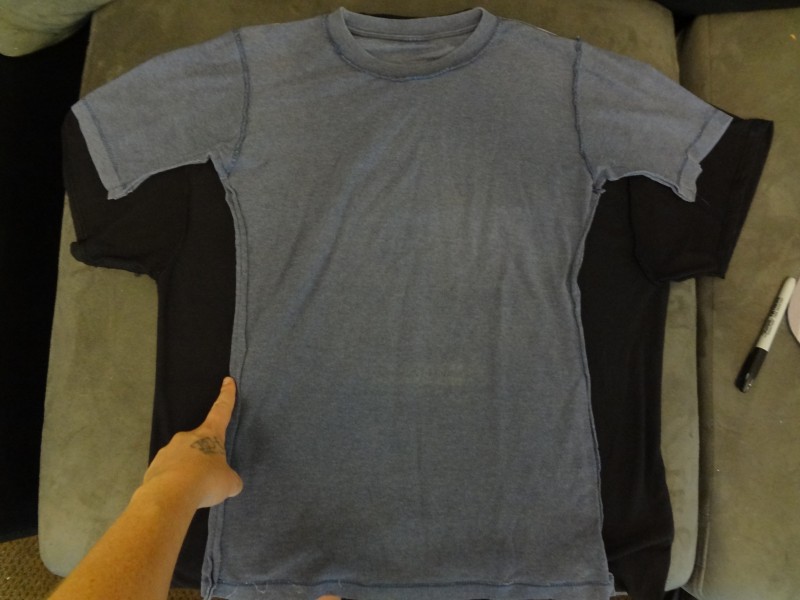
I took and pinned along the edges, having left an additional 1/4″ seam allowance along the edge. I used my sewing machine and a zig zag stitch to follow the pins, with the new shirt turning out like this.
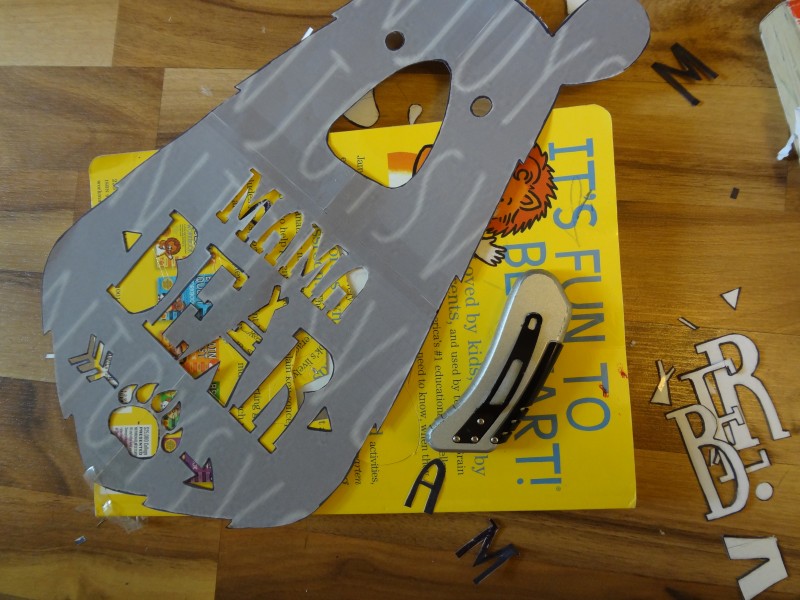
After this step I was ready to find my stencil, now I did find fault in the way I did this initially, so I will explain what I did and then what I did the next time to fix the issue. I work on a Mac computer which limits me a bit on programs used at times, I googled around and found that if I installed Adobe Acrobat Reader, I would be able to stretch images onto multiple pieces of paper when printing. So that’s what I did. Then I used an x-acto blade and cut out the stencil and kept the small bits of the letters like “a” and “o”.
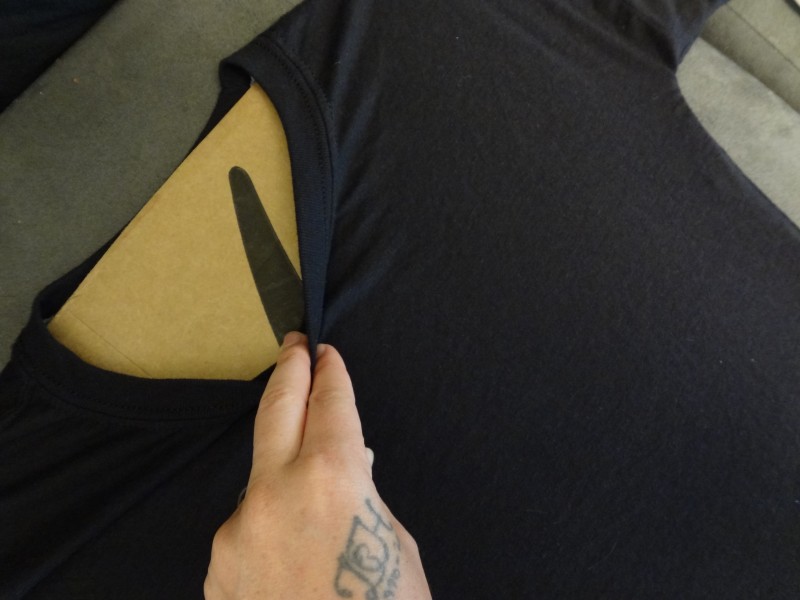
Slipping cardboard in between the front and back of the shirt is a very crucial step in the process otherwise the bleach will bleed through to the back.
Next I went ahead and laid out the paper stencil onto the fabric and mixed up my bleach solution of 50/50 water and bleach.
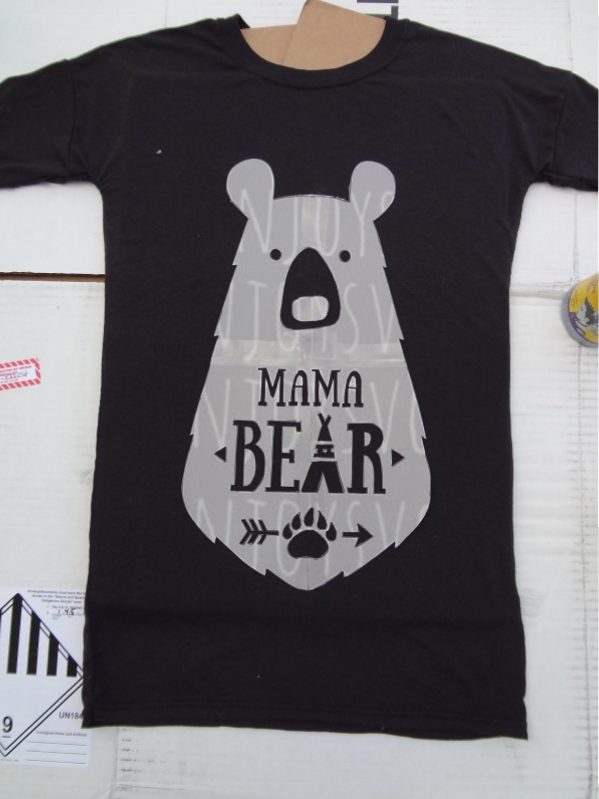
I went with just two or three sprays at first and didn’t see much change, so I sprayed a few more times. Turns out patience is key with bleach shirts. I also took a paint brush and dipped it directly in bleach to outline small parts like the ears.
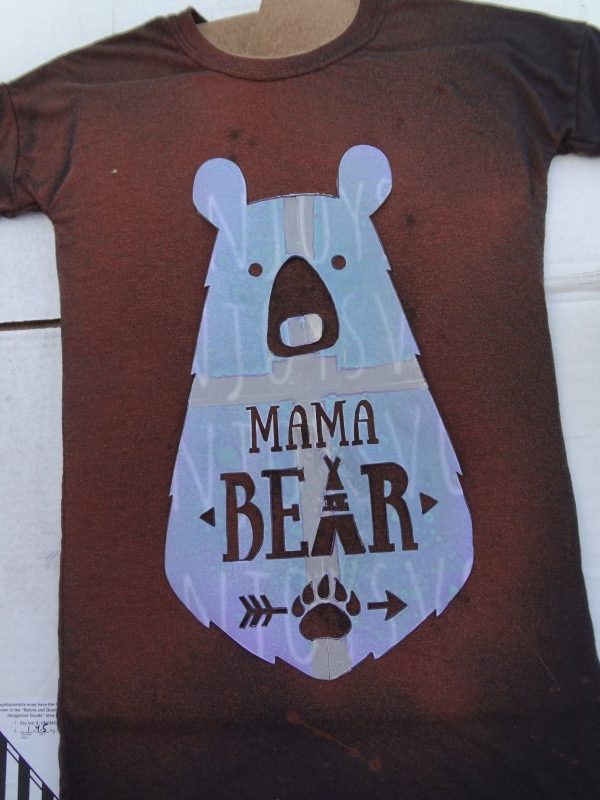
Once I removed the stencil I noticed that I had indeed saturated the shirt a bit too much and some of the lines were bleeding together.
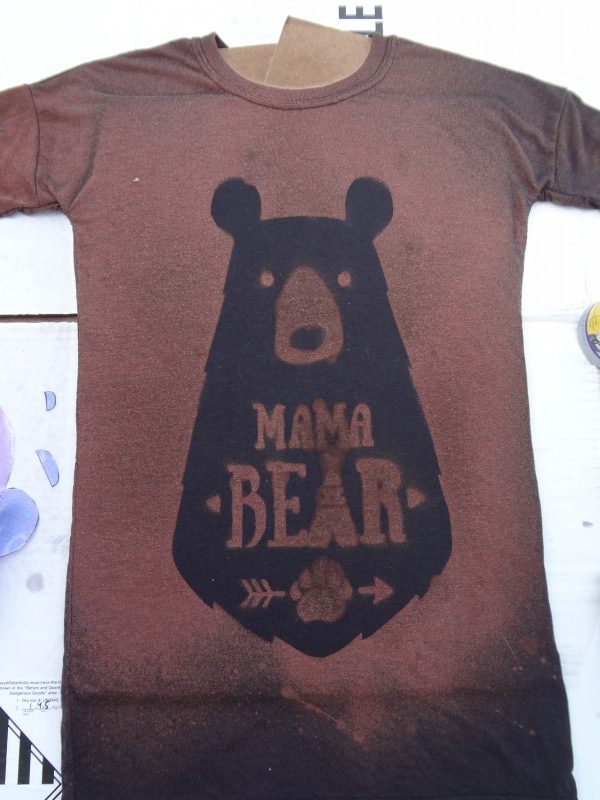
I decided to go on with the process anyways and see what I could do later on to remedy the mistake. Rinsing in cold water until the water is clear is the next step and then washing and drying as usual. I still had issue with the bleeding together of some of the words and image so I went ahead and grabbed my fabric markers and filled in the area with some purpled blue. I wasn’t able to find my black fabric marker or I would have tried that instead as it probably would have provided more coverage on the bleeds.
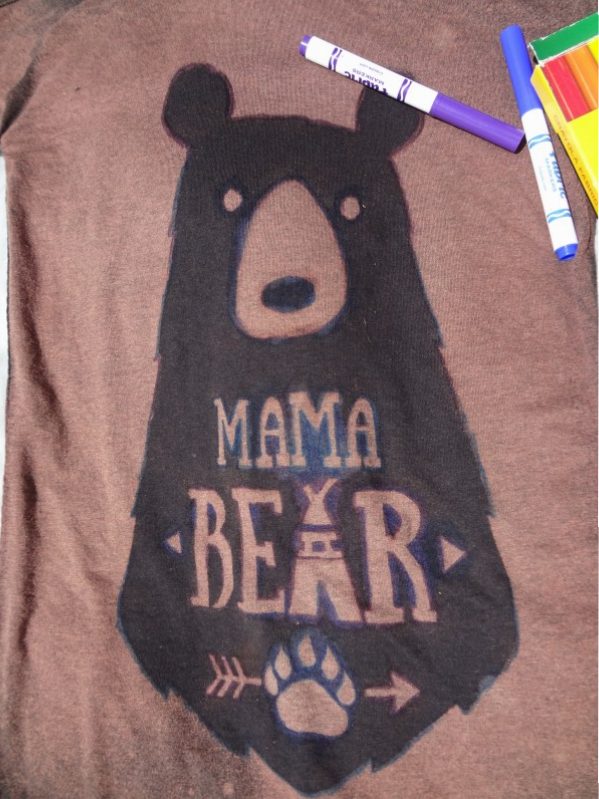
Fabric markers require you to heat in a dryer to set the color and then wash and dry as usual, so that’s what I did!
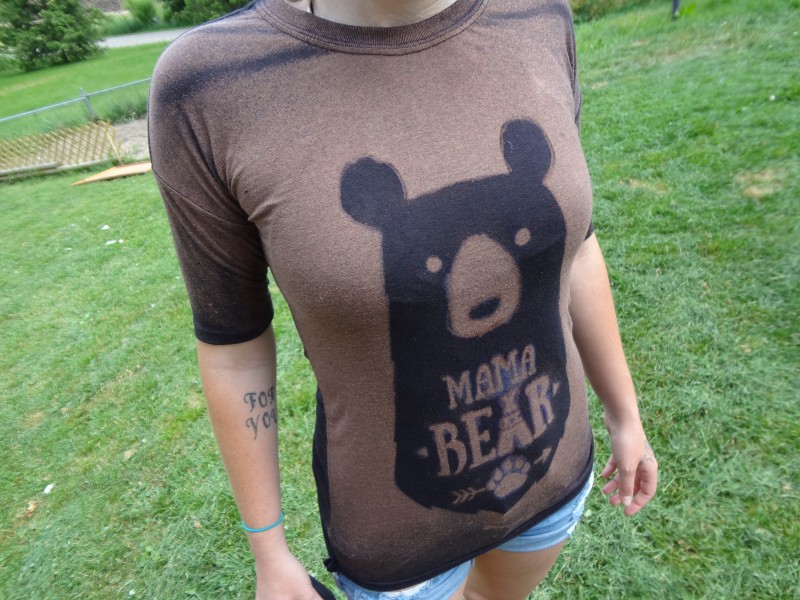
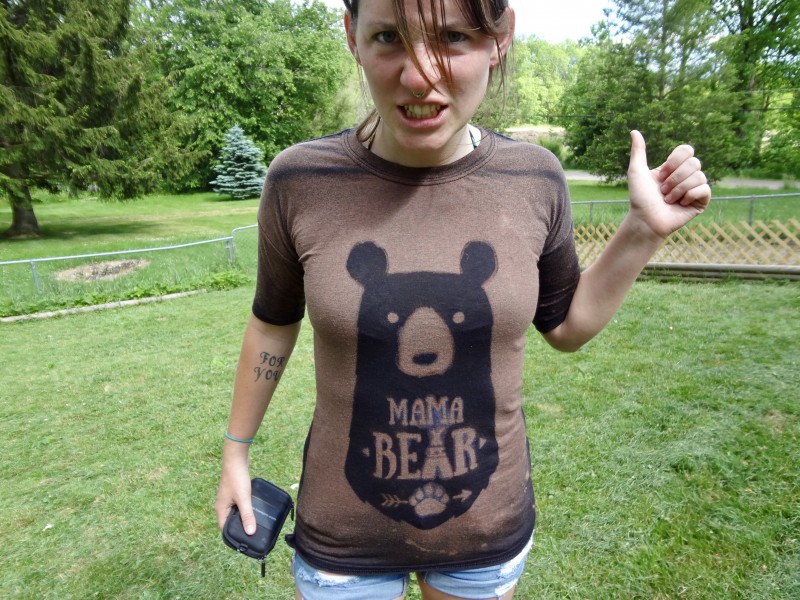
So the end result! Is it the perfect crisp edges that I hoped for? No, not so much but I love the fit of the shirt, I get compliment on it every place I wear it and I learned a lot from this DIY.
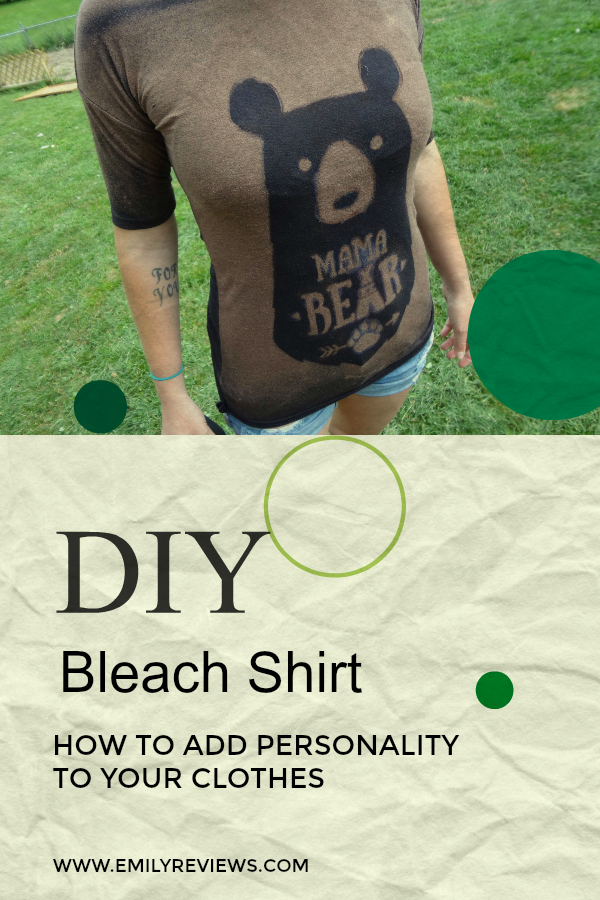
Mistakes and How to fix!
- Instead of a paper stencil that gets wet and bleeds through and creates no barrier, trace the image onto freezer paper, cut the freezer paper stencil with the x-acto blade and iron it shiny side down onto the shirt.
- Instead of over soaking your shirt spray only one or two sprays, wait a while or even better iron those sprays (heat activates bleach).
Have you made anything yourself? Do you love crafting? Share with me in the comments!

I am a stay at home mother of two, who loves to create in every form, from cooking, to henna, to painting or sculpting, creating with my hands is my passion! I love to dance and let loose when the music flows right. Being outside is a special kind of therapy I think humans need more of as well as mindfulness! I love all things new and adventurous and am always looking to experience more of life 🙂
This post currently has 11 responses.
-
Wow this is pretty cool
-
Wow this is pretty cool
-
This is great. I want to make some with the girls. Thank you for the idea.
-
Wow, what an awesome idea! I love the way that your shirt turned out! I have always wanted to learn how to use a sewing machine, but I have yet to just buy one and learn. I do love being crafty though, I make all of my kids cards and Birthday cakes. I really want to try and leach shirt now, thank you so much for sharing! 🙂
-
Yep, I am a crafter or used to be until I found the internet, now I dont have as much time. I was a wicked tye die person loved doing it. I havent tried the bleach method, it is quite interesting. I really like your cut outs.I would almost try finding some plastic of some sort if you do shirts a whole lot. You should be abe to find it in the area where stencils are.
-
I love it, I think it came out awesome looking and I love the colors you chose to do this t-shirt in.
@tisonlyme143




Wow this is pretty cool