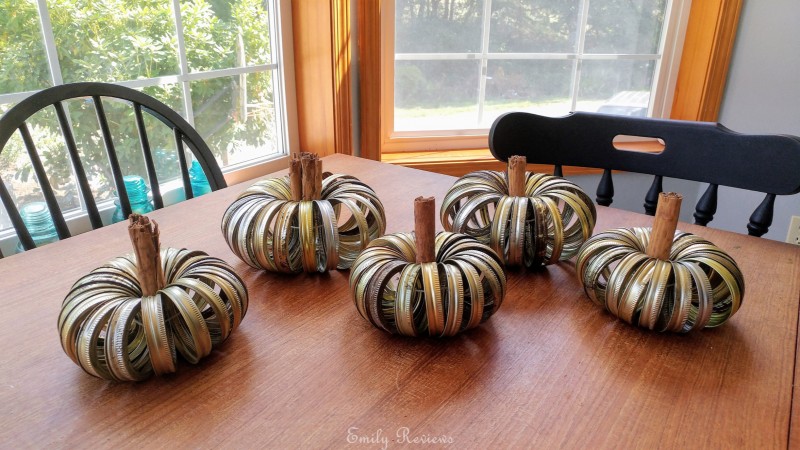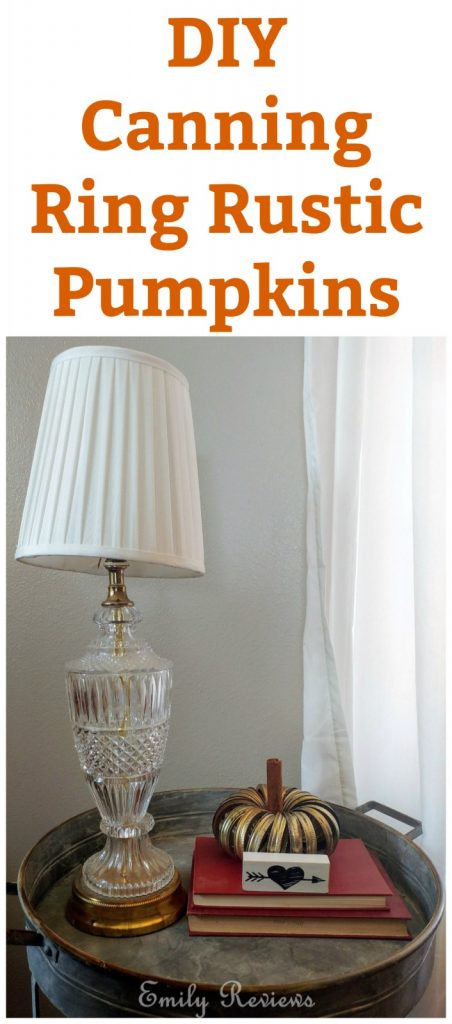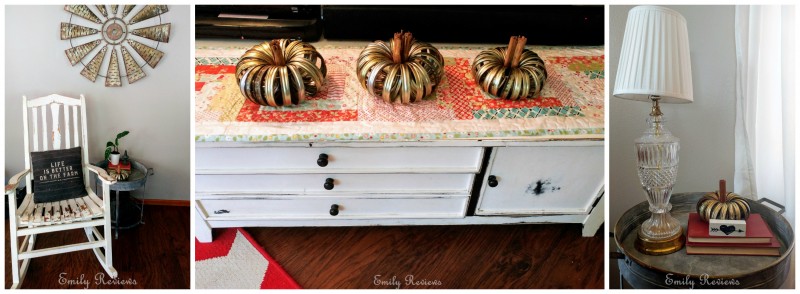
I visit a lot of shabby chic sales. I love the creativity people have when reusing products. My favorite it when something rusty is combined with something a little fancy. I call it naughty and nice decor. Anyways, at one of last year’s fall shows, I saw where the vendor had used rusty canning rings to make these adorable rustic pumpkins. She had them as pumpkins, but they could easily be apples too. After thinking about those canning ring pumpkins for almost a year, I decided to make them.
To make these canning ring pumpkins, you will need:
Sets of 20 canning rings (each pumpkin takes 20)
Twine or yarn
Hot glue gun and glue sticks
Cinnamon Sticks
Directions-
Before you start making your pumpkin, you need to decide if you want to paint your canning rings or if you want to leave them rusty. I chose to leave mine. I like the look of the rusty lids combined with the not so rusty lids. If you decide to paint, you can paint them whatever color you wish. I have seen them in white and in orange. If you would rather make apples than pumpkins, decide if you want yellow, green, or red apples. Lay out your rings on newspaper or whatever cover you have. Spray paint your rings in even strokes until you have the desired color. Let them thoroughly dry as per manufactures instructions.
When your canning rings are ready, thread 20 rings, facing the same direction, onto your twine or yarn. When you have all 20, tie the twine/yarn in a tight know and trim off the excess.
Next, space out your canning rings until they form a circular shape. Once you have it shaped, select a cinnamon stick or two and test that they fill the center space of your canning rings.
Now take your hot glue and string glue along the bottom inch or so of the cinnamon sticks. Place them inside the canning ring circle and hold for a few seconds. Once it feels secure, flip over your pumpkin. Add glue around the base of the cinnamon stick(s). This will provide extra support.
There you have it! You just made yourself a canning ring pumpkin/apple! What do you think? Bonus- when you are done, you can add cinnamon essential oils to your cinnamon stick stems to make your room smell amazing!
Hello, my name is Laurie. My family and I live near the Oregon coast. When we aren’t at work, in school, or on the volleyball court, we enjoy traveling, cheering for our favorite sports teams, playing outdoors, and checking off items on our bucket list. We are lucky in that both sets of our parents, as well as our siblings and their families, live within an hour of us. We get together often to help one another out, celebrate milestones, and go on adventures together.
This post currently has 6 responses.
-
This is really net when I first looked at the picture I thought it was a store bought item, I didn’t realize it was some old canning rings. I love projects that reuse every day items.
-
I love this project- it’s so cute!! I’m going to head out to the thrift store and see if I can scoop up some rings!
-
That is a great DIY project. I can see kids having fun making them.
-
I have seen these painted also. However, I really love the look of the rusty ones – so much more vintage.
-
These look so easy and just adorable! I can’t wait to do mine!! I’ve been in a crafty mood lately and these are next on my agenda!


This is so cute. It is so easy for the kids to make. I think I will get some and even let them paint them orange if they like.