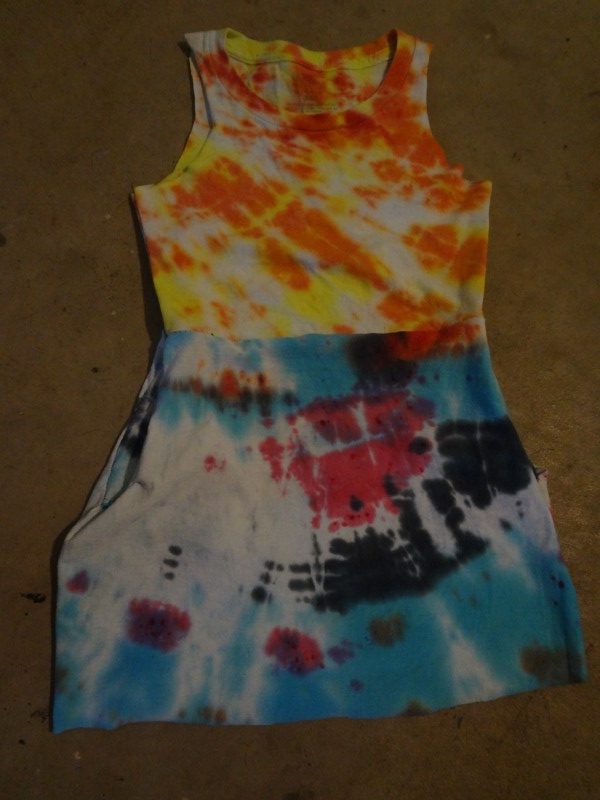
I absolutely love crafting, creating and making just about anything. Sewing has been an area that makes me a bit nervous as it takes so much time and if you get it wrong it feels like a waste of said time. When we were going to Hippy Fest we all made our own tie dye shirts to wear there. My husbands turned out to be his favorite shirt! My daughter didn’t really like hers much so I decided to help her out and make a dress out of the couple extra shirts that we had made. Here is a tutorial on how I did just that.
First I found a dress that fit my daughter pretty well so I could use it as a guide.
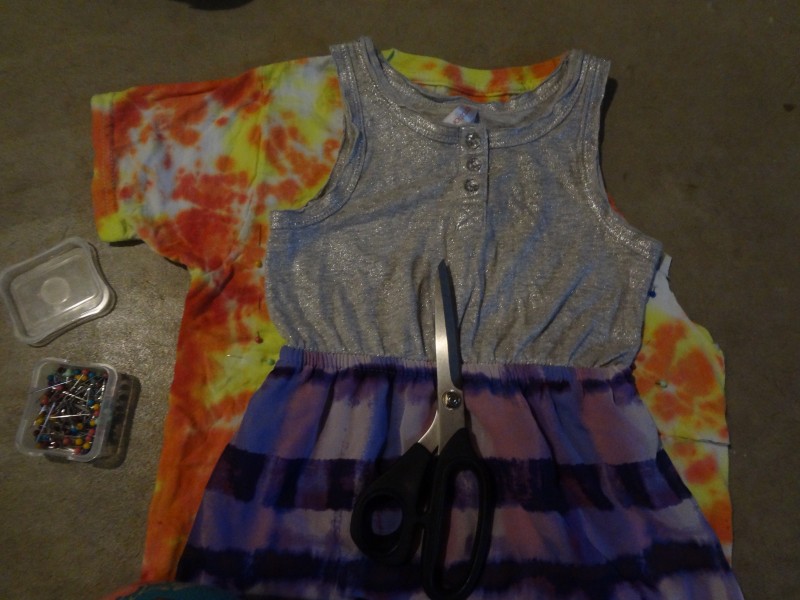
Next I pinned and cut down the sides and edges of the dress guide.
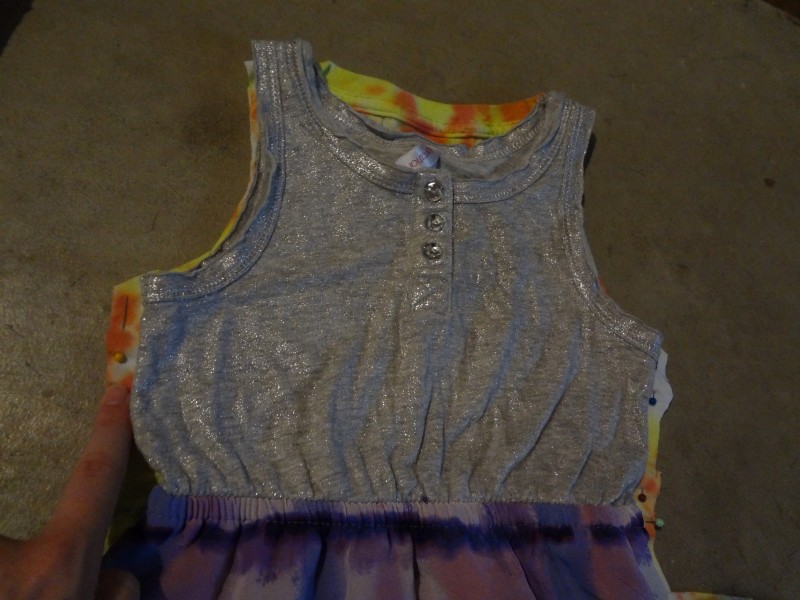
The yellow portion has been sized down and sized to match the top portion of the dress that she already owned. I sewed along the sides and turned right side out. The bottom blue portion of her skirt was made from another shirt the same size as the original yellow one cut straight across at the armpits. Like a tube of material.
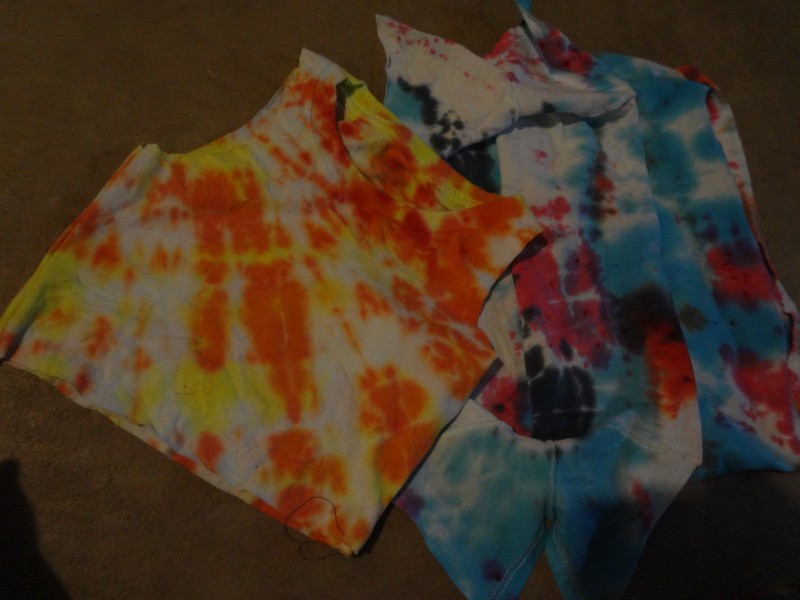
I took both pieces of the dress and turned them so that right sides were facing each other and tucked the top portion into the bottom and pinned along that seam.
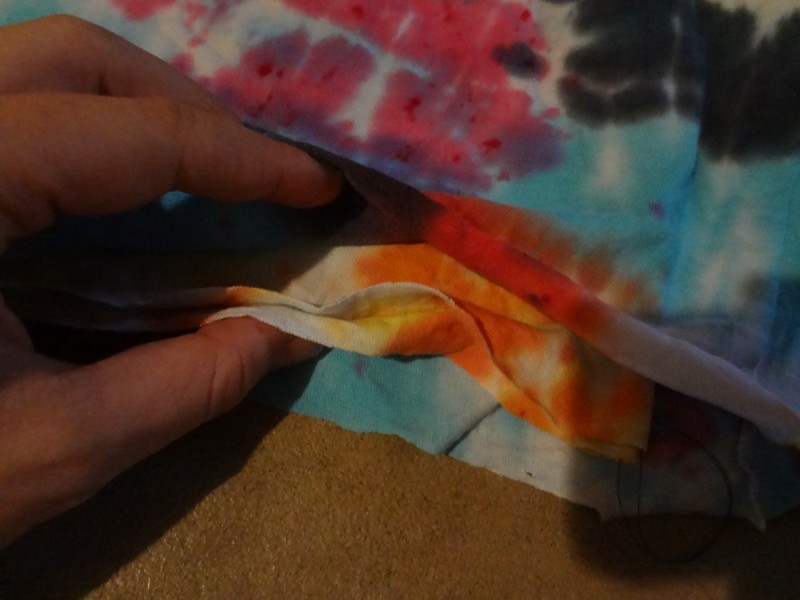
I was left were the sleeves were in the blue shirt, I ended up adding pockets to this area by taking the sleeves and sewing them shut and adding them the same way I put the top and bottom portion together. In hindsight I could have just left the sleeves on and then sewed them shut but I hadn’t planned on pockets at first.
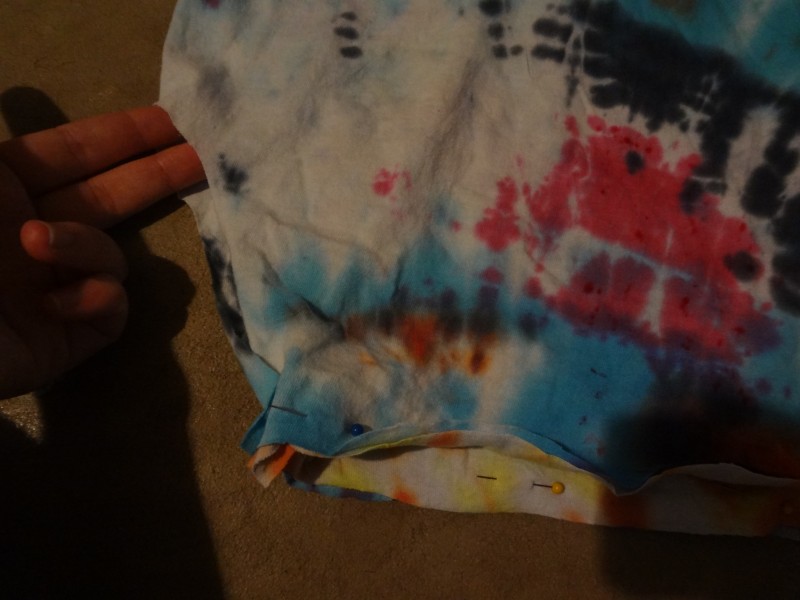
This is where I put the sleeve inside the opening and pinned along that line and sewed.
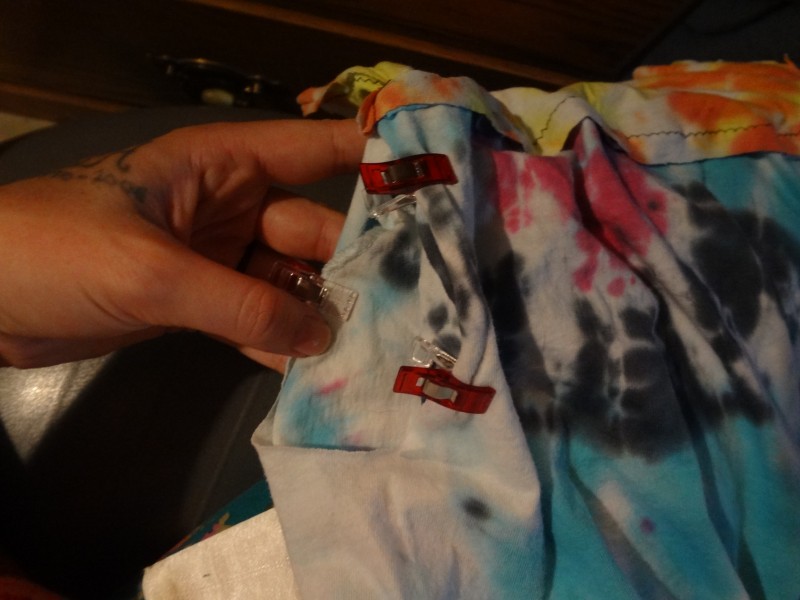
This is how the dress looked turned right side out but with pockets out so that you can see where they are attached.
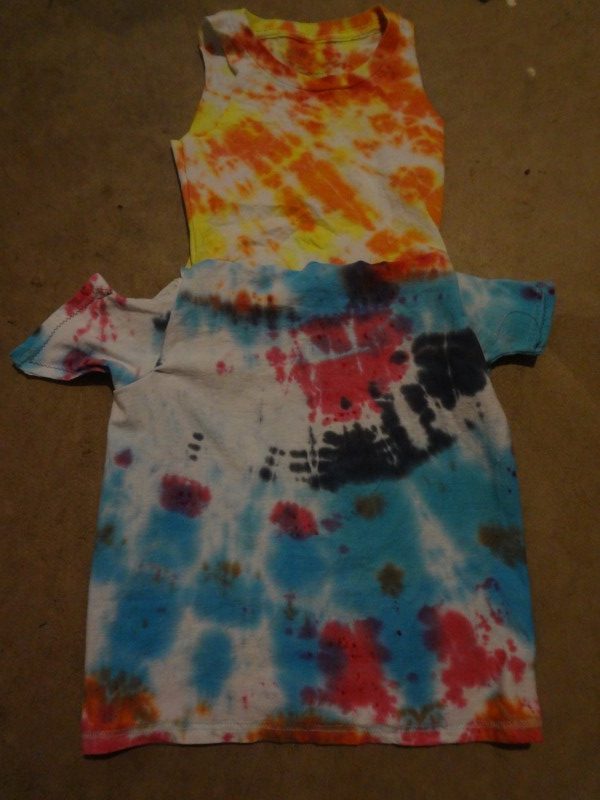
Here is the dress with the pockets tucked in.

I thought the back of the dress could be made to be a bit cuter and cooler so I took a scrap of material and pinched the backing into a bunch and tied the scrap piece around it in a knot.
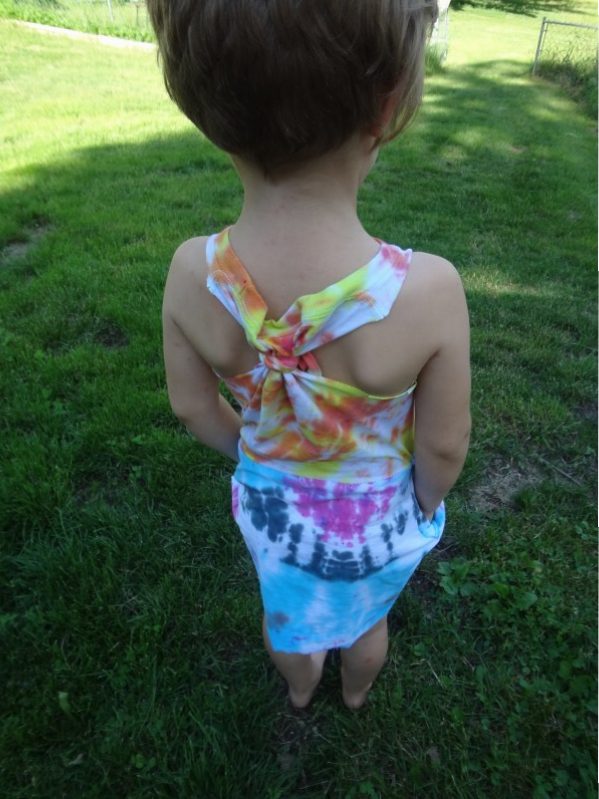
After all this I also ended up getting a bit of black soft fabric paint and painted the words “Flower Child” on the front to add a bit more to the dress. She loved it and really danced her little heart out at Hippy Fest.

This was a simple and easy sewing project that felt really worth the small amount of time it took to make.
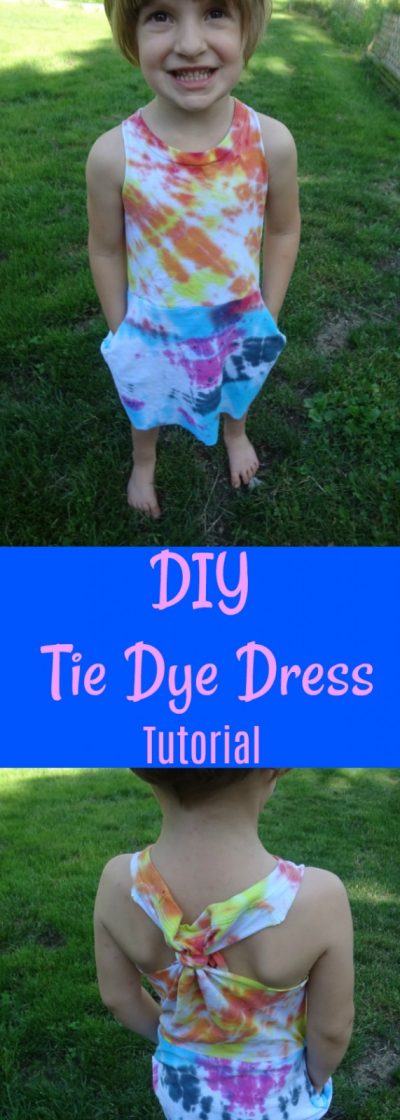
It is still one of my daughters favorite dresses because she helped decide length, color and the extras we added to it. I love inspiring my kiddos to craft and make regular things that can be bought into their own.

I am a stay at home mother of two, who loves to create in every form, from cooking, to henna, to painting or sculpting, creating with my hands is my passion! I love to dance and let loose when the music flows right. Being outside is a special kind of therapy I think humans need more of as well as mindfulness! I love all things new and adventurous and am always looking to experience more of life 🙂
This post currently has 6 responses.
-
This is so cute! I would love to make myself a tie-dye dress! I think it would be really cute especially as a pool cover-up!
-
That is an adorable dress.
-
I love the dresses. The girls would love to help make some of those. Thank you for the post and idea.
-
This is a cute idea. I like how you turned something she didnt like into something she loves. I have a ‘thing’ for tiye dye. I love the colors. You all looked great at hippy fest I bet that was fun. Your tutorial looks easy and it would make up quickly.
-
I don’t know if I would be able to make a dress, but when we were younger we had lots of fun making tie-dye teeshirts. I must say we were pretty creative.


Very cute dress, I love how you pinned it! Thank you so much for sharing! I have recently gotten into tie dying again (I haven’t done it since I was a kid) and it is so much fun! I have done multiple shirts/dresses for my littles and myself, I have even done a blankets and some pillow cases. 🙂